Create A New Player With The eZs3 Dashboard
Create A New Player With The eZs3 Dashboard
In four steps:
- Upload File
- Navigate
- Left Side Settings
- Right Side Settings
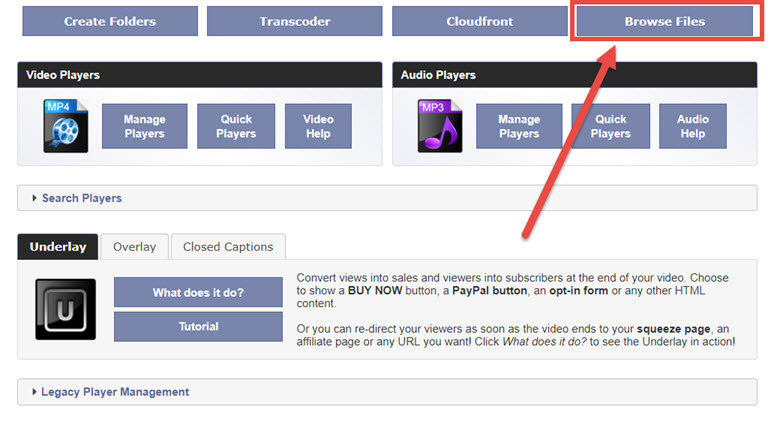
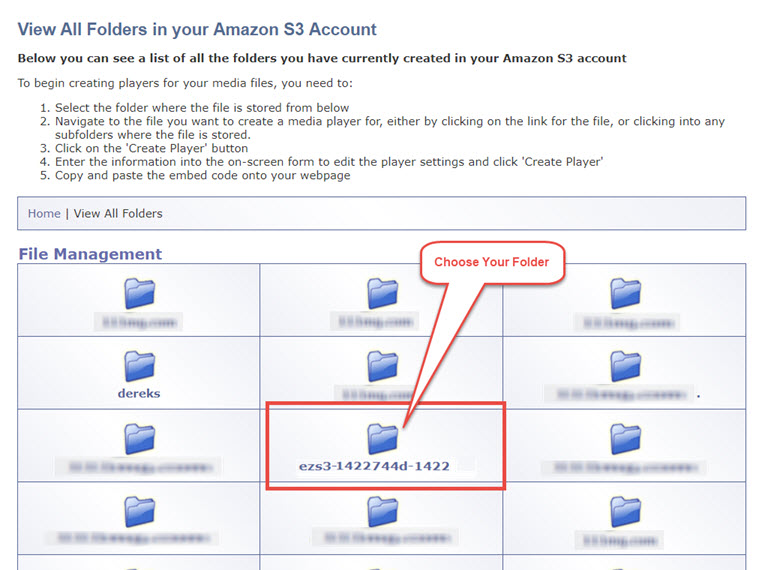
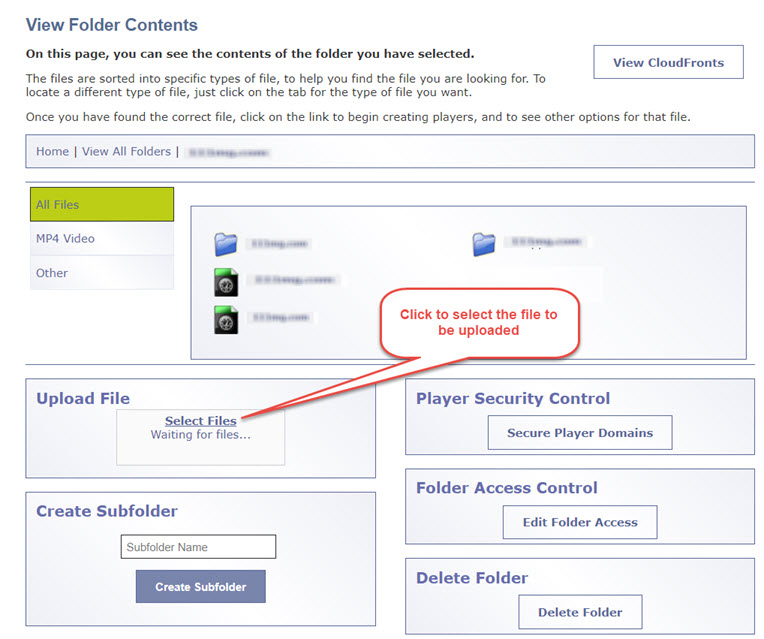
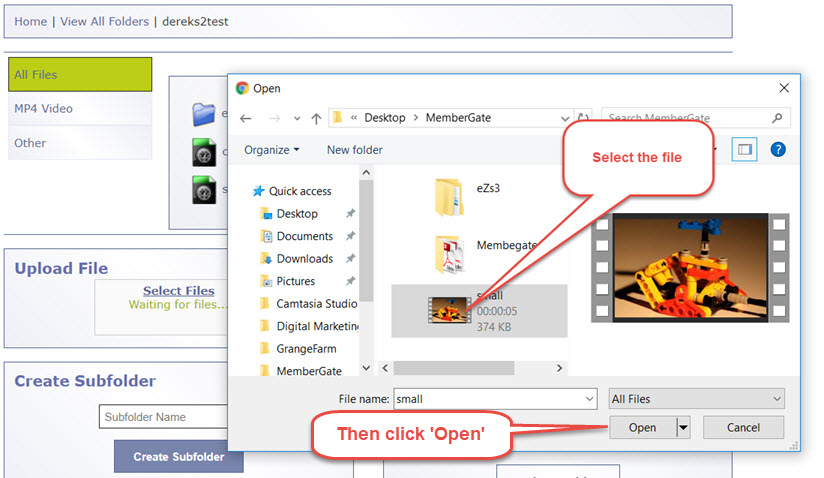
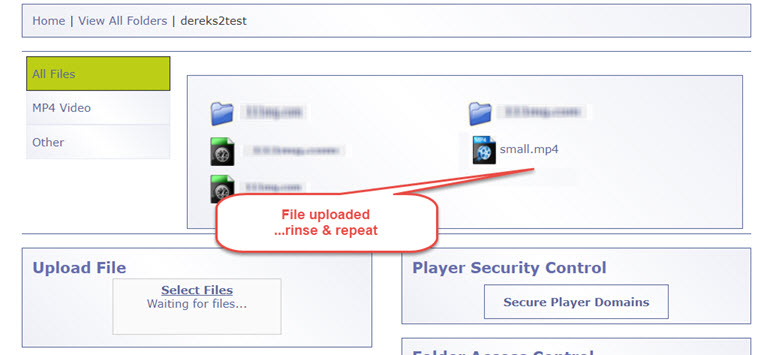
Start by clicking on Browse Files. Select the folder that you want to upload into. Use the Upload button at the bottom of the dashboard. Click it to launch the new uploader Select the file that you want to upload from your computer and click Open A progress bar will appear of your upload. Success! You can now upload another one
**Its important that you don't close the page whilst the upload is in progress.**
You can still do things in your eZs3 account if you have a page open in another tab or browser window, but do not close this tab or click anywhere on the page until you get the green success message and the file is listed in your folder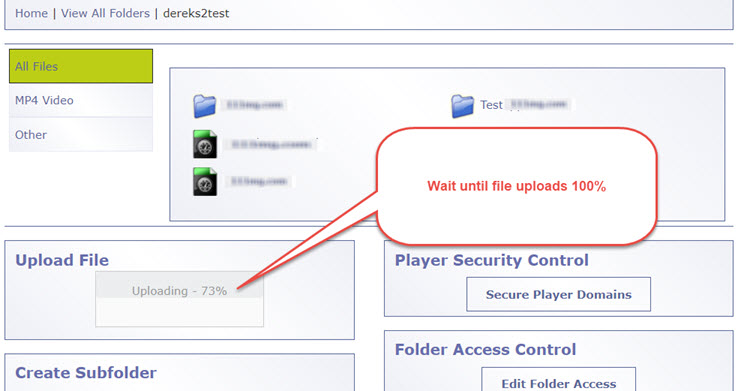
Once you have uploaded your media - whether it's video, pictures or audio, you can create a player tailored to your needs
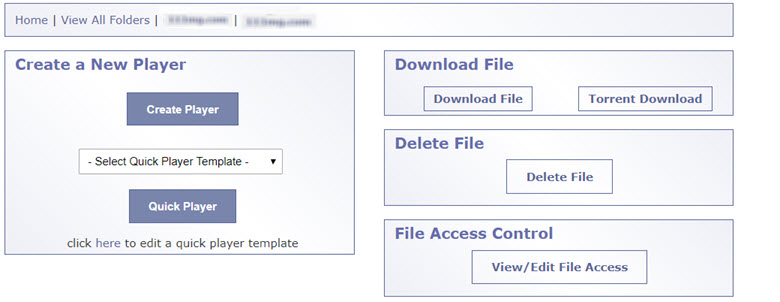
Start by clicking on Browse Files 
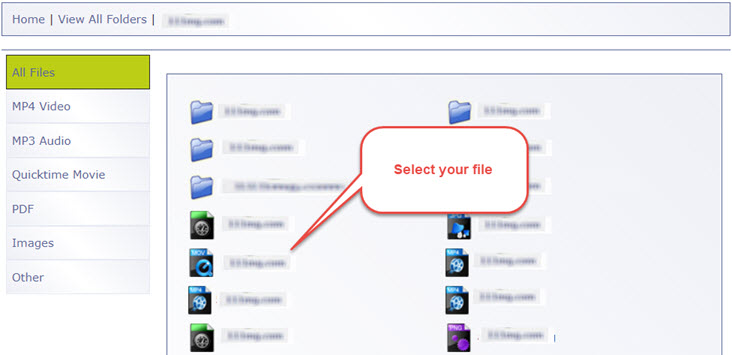
Continue to drill down to navigate through your folders to get to the file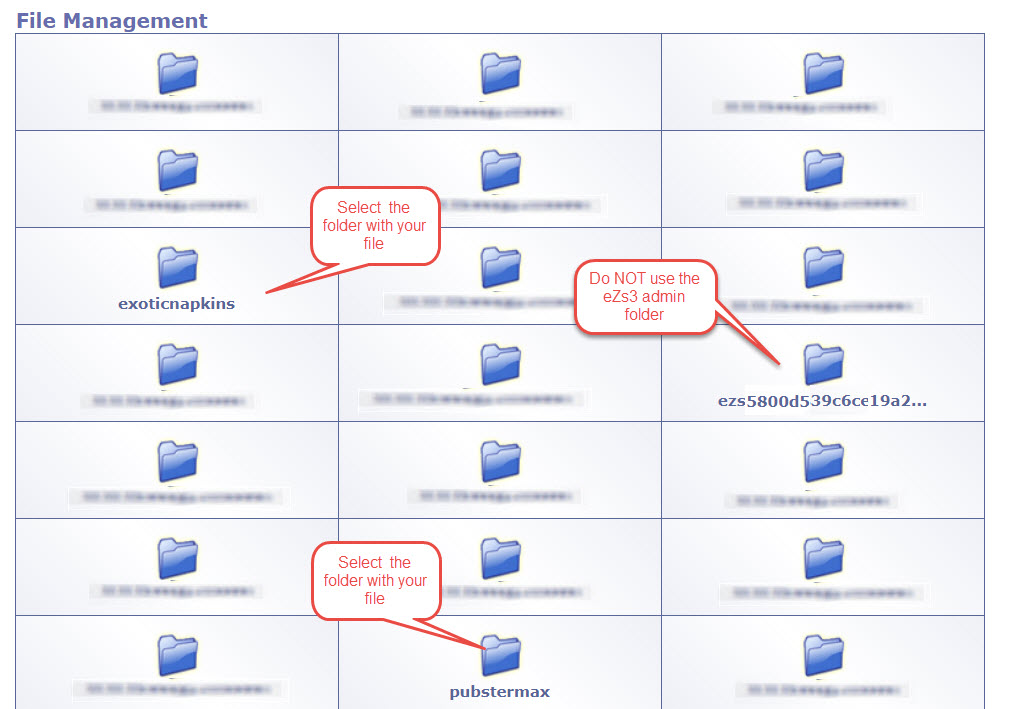
Click on the file you are creating the Player for
If this is the FIRST player you are making for this file, you will ONLY see the Create Player option
Click on the CREATE PLAYER
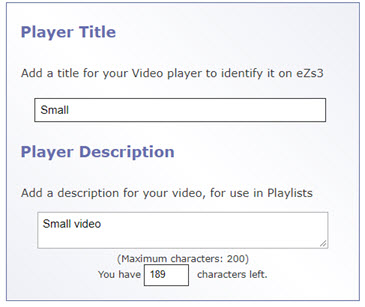
Player Title/Name
Give your Player a Title so you can easily find it later to make edits, duplicates or other changes
This is NOT the name of the file, it is the Name of the Player
The Player Name is for you to distinguish between players, as you can create many players from one file for deploying on several sites with different colour requirements etc
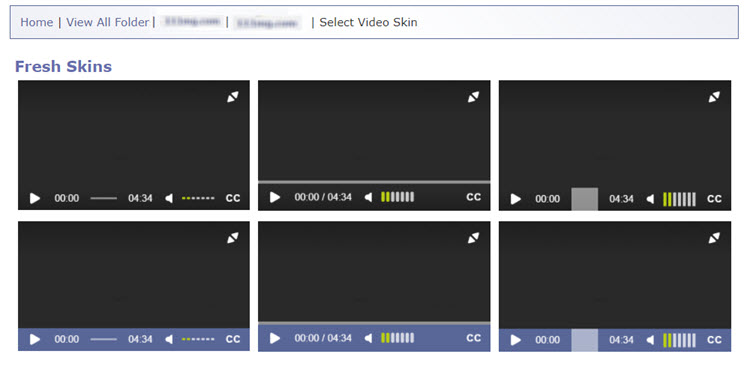
Select one of the updated players (skins, wrappers, designs)
Choose the style of player that will best suit your video, your viewers and your site by simply clicking on it
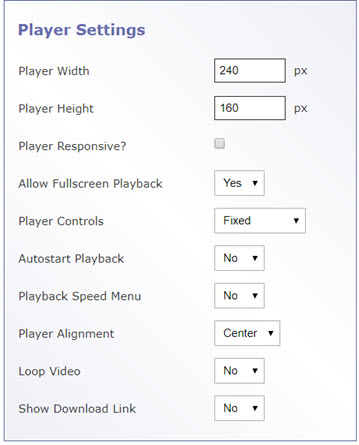
Player Settings can be adjusted to your requirements; player size and how your video is displayed , whether it is to be responsive
Full screen and alignment options
Whether to show the player controls
Provide FF and SlowMo in 'playback' speed
Click on each tab to see the 4 steps
To use the improved security from Amazon, you may need to set up 2 features in your Amazon Control Panel, if you haven;t already done so
Once you have completed these steps in your AWS account, you will not have to do them again
First, log into your Amazon AWS Control Panel
1. Here's how to set your IAM - Identity and Access Management
2. Here's how to enable your CloudFront
To apply Domain Security to your player
Click on Manage Domain Security
And a NEW TAB will open ...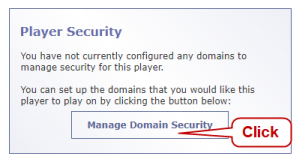
Enter the domains you wish to ALLOW playback
Can be one domain or several
Click Set Access to confirm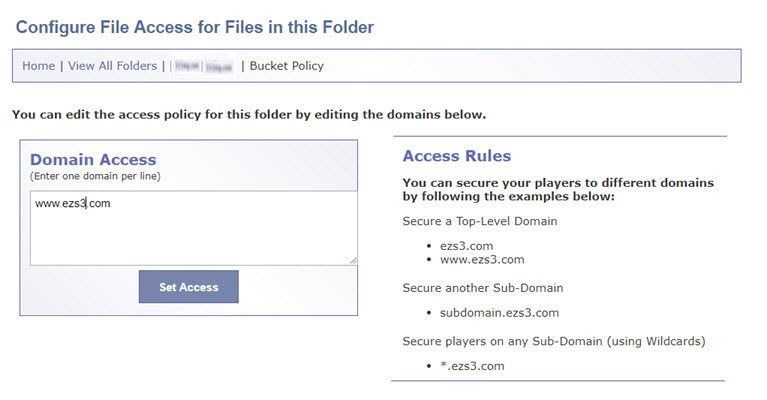
You will now see a confirmation notice
CLOSE this Tab when you get the confirmation message - to go back to the player you were editing in the Original Tab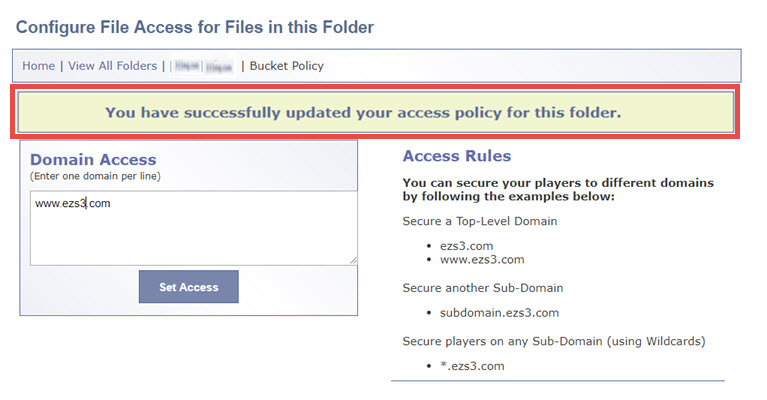
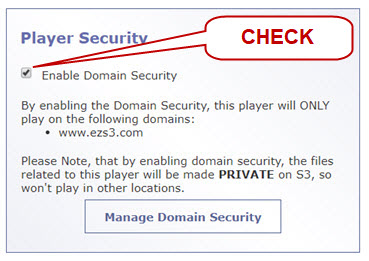
Back in Edit Player Tab
Once you have added the domains and confirmed them when you go back to the original Edit Player tab, the Player Security will have updated
If you wish to confirm this refresh the tab and you will see the Enable Domain Security box is checked
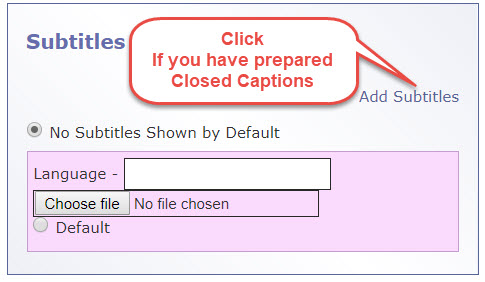
If you have prepared Subtitles or Closed Captions for your media, you can upload them here so that they will always be linked to this file
You can choose to show them on or not
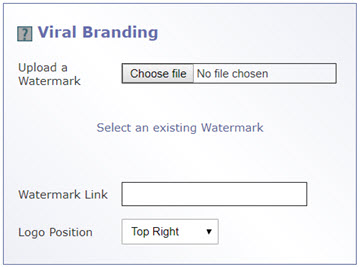
Viral Branding is a way to show your logo or icon in your player
Like TV shows such as JudgeJudy or CNN you can place your Watermark or Video Bug on your players
Simply upload your logo or select one you have already uploaded
You can ALSO set a Watermark Link - this can be clicked on at anytime during playback to take your viewer to a URL
(Secret Offer, OTO, Affiliate link etc)
The Start Image will show until the player is clicked to play
Before uploading your Start Image, check it is correctly sized to fit the player

Change the Player Colors to fit with the site where you wish to display it or to reflect your style

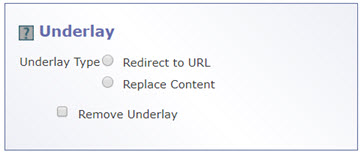
Set your Underlay attributes (if enabled in your account)
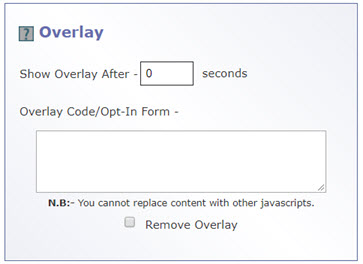
Set your Overlay attributes (if enabled in your account)
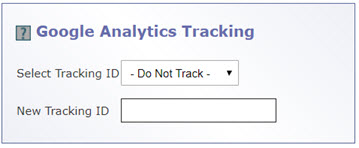
Apply your Google Analytics tracking
Once you have made all the changes necessary, click on Create Player
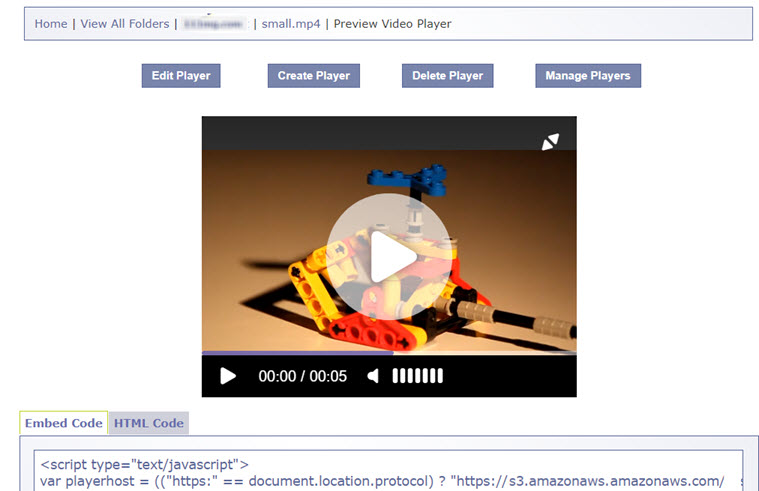
You will then see a preview of your player.
If you want to make changes, just click on Edit Player
If you are happy with the player, click Select Code and then paste to your website following the embed rules there
To create another player for this same file, click Create Player
.